


Un soutien qui va au-delà de l'hydratation superficielle
À mesure que la peau vieillit, elle ne perd pas seulement de l’hydratation — elle perd aussi de la résilience. Les ridules se creusent. L’élasticité s’affaiblit. Une peau qui paraissait autrefois naturellement ferme peut commencer à sembler plus fine, moins soutenue, moins lumineuse. Ce sérum est conçu pour ce moment.
Grâce aux polynucléotides dérivés du ginseng (PDRN) et à des systèmes d’hydratation avancés, il agit en profondeur pour soutenir la qualité de la peau — aidant à améliorer l’élasticité, renforcer le confort et réduire les signes visibles du vieillissement au fil du temps.
Léger et rapidement absorbé, il se superpose sans effort sous la crème hydratante et la protection solaire, devenant l’étape structurante de votre routine — pas seulement un supplément optionnel.
L’objectif n’est pas un effet repulpant temporaire. L’objectif est une peau visiblement plus forte.

Soutien ciblé pour le renouvellement de la peau vieillissante
Texture soyeuse et légère qui s'absorbe rapidement sans laisser de sensation de lourdeur, idéale pour les routines du matin et du soir.
- Aide à réduire l'apparence des ridules et des rides
- Améliore l'élasticité et la fermeté de la peau
- Favorise la douceur et le raffinement visibles de la peau
- Apporte une hydratation multi-niveaux sans résidu
- Convient à une utilisation quotidienne sur le long terme
- Conçu pour compléter les routines hydratantes et les soins inspirés des cliniques
- Formulé pour les peaux matures et en évolution.
- Sans parfum

L'étape du sérum dans la routine de Kimberley
Pour Kimberley, ce sérum reflète une approche plus réfléchie des soins de la peau. Il ne s'agit pas de rechercher un changement spectaculaire ou de tenter d'avoir un autre visage — il s'agit de soutenir la qualité de la peau, l'hydratation et un éclat sain avec une routine réaliste.
Dans le cadre de la collection Pure Tone Aesthetics x Kimberley Walsh, le Sérum Polynucléotide a été conçu pour être au cœur d'une routine quotidienne simple : nettoyer, traiter et hydrater, avec la possibilité d'améliorer la routine grâce au Radiance Pod ou au Masque LED Pure Tone Glow.
Le résultat est un sérum destiné aux peaux qui paraissent fatiguées, qui se sentent moins soutenues qu'auparavant, ou qui ont besoin de plus qu'une simple hydratation.

Comment ça marche - le soutien à la régénération rencontre l'hydratation multi-niveaux
Ce sérum se concentre sur l'amélioration de la qualité visible de la peau en soutenant l'élasticité, l'hydratation et la résilience globale de la peau — plutôt que de simplement enrober la surface.
Les polynucléotides dérivés du ginseng (PDRN) sont inclus pour leur rôle dans le soutien de l'état de la peau et la récupération visible. L'acide hyaluronique multi-moléculaire agit à différents niveaux de la peau pour attirer et retenir l'humidité. Le complexe Centella Asiatica aide à soutenir le confort et l'équilibre, en particulier sur une peau qui se sent stressée ou réactive.
Avec une utilisation régulière, la formule aide à soutenir une texture plus lisse, une apparence d'élasticité améliorée et un teint d'apparence plus résiliente au fil du temps.
Comment utiliser le sérum de polynucléotides dans votre routine

Étape 1 : Nettoyer
Commencez par le Gel Nettoyant Moussant Visage Pure Tone Aesthetics pour éliminer les impuretés quotidiennes et préparer la peau aux étapes suivantes. Massez sur une peau humide, rincez abondamment à l'eau tiède, puis séchez délicatement avec une serviette douce avant d'appliquer votre sérum.

Étape 2 : Appliquez le Sérum Polynucléotides
Appliquez Pure Tone Aesthetics Polynucleotide Serum sur le visage et le cou, en le pressant doucement dans la peau jusqu’à absorption complète.
Utiliser le sérum avant d’hydrater aide à soutenir l’hydratation et la qualité globale de la peau.

Étape 3 : Hydrater
Appliquez Crème Hydratante Polynucléotide Pure Tone Aesthetics sur le visage et le cou en dernière étape de votre routine.
Massez délicatement jusqu'à absorption pour aider à retenir l'hydratation et maintenir le confort de la peau tout au long de la journée ou de la nuit.
Étape 1 : Nettoyer
Commencez par le Gel Nettoyant Moussant Visage Pure Tone Aesthetics pour éliminer les impuretés quotidiennes et préparer la peau aux étapes suivantes. Massez sur une peau humide, rincez abondamment à l'eau tiède, puis séchez délicatement avec une serviette douce avant d'appliquer votre sérum.
Étape 2 : Appliquez le Sérum Polynucléotides
Appliquez Pure Tone Aesthetics Polynucleotide Serum sur le visage et le cou, en le pressant doucement dans la peau jusqu’à absorption complète.
Utiliser le sérum avant d’hydrater aide à soutenir l’hydratation et la qualité globale de la peau.
Étape 3 : Hydrater
Appliquez Crème Hydratante Polynucléotide Pure Tone Aesthetics sur le visage et le cou en dernière étape de votre routine.
Massez délicatement jusqu'à absorption pour aider à retenir l'hydratation et maintenir le confort de la peau tout au long de la journée ou de la nuit.
Étape 1 : Nettoyer
Commencez par le Gel Nettoyant Moussant Visage Pure Tone Aesthetics pour éliminer les impuretés quotidiennes et préparer la peau aux étapes suivantes. Massez sur une peau humide, rincez abondamment à l'eau tiède, puis séchez délicatement avec une serviette douce avant d'appliquer votre sérum.

Étape 2 : Utilisez la capsule Radiance
Appliquez le Concentré Pure Tone Aesthetics et Gel Glissant sur une peau propre, puis utilisez le Radiance Pod en suivant les instructions de l'appareil pour le mode de traitement choisi.
Une fois terminé, essuyez délicatement l'excès de gel avant d'appliquer des sérums ou une crème hydratante, afin de préparer la peau aux produits suivants.
Étape 3 : Appliquer le Sérum Polynucléotides
Appliquez le Pure Tone Aesthetics Polynucleotide Serum sur le visage et le cou, en le pressant doucement dans la peau jusqu'à absorption complète.
Utiliser le sérum polynucléotide avant l'hydratation aide à soutenir l'hydratation et la qualité globale de la peau, permettant à la crème hydratante d'agir plus efficacement en tant qu'étape finale.
Étape 4 : Hydrater
Appliquez la Crème Hydratante Polynucléotide Pure Tone Aesthetics sur le visage et le cou en dernière étape de votre routine.
Faites pénétrer délicatement dans la peau jusqu'à absorption complète pour aider à retenir l'hydratation, soutenir la barrière cutanée et maintenir le confort ainsi que la qualité de la peau tout au long de la journée ou de la nuit.
Étape 1 : Nettoyer
Commencez par le Gel Nettoyant Moussant Visage Pure Tone Aesthetics pour éliminer les impuretés quotidiennes et préparer la peau aux étapes suivantes. Massez sur une peau humide, rincez abondamment à l'eau tiède, puis séchez délicatement avec une serviette douce avant d'appliquer votre sérum.
Étape 2 : Utilisez la capsule Radiance
Appliquez le Concentré Pure Tone Aesthetics et Gel Glissant sur une peau propre, puis utilisez le Radiance Pod en suivant les instructions de l'appareil pour le mode de traitement choisi.
Une fois terminé, essuyez délicatement l'excès de gel avant d'appliquer des sérums ou une crème hydratante, afin de préparer la peau aux produits suivants.
Étape 3 : Appliquer le Sérum Polynucléotides
Appliquez le Pure Tone Aesthetics Polynucleotide Serum sur le visage et le cou, en le pressant doucement dans la peau jusqu'à absorption complète.
Utiliser le sérum polynucléotide avant l'hydratation aide à soutenir l'hydratation et la qualité globale de la peau, permettant à la crème hydratante d'agir plus efficacement en tant qu'étape finale.
Étape 4 : Hydrater
Appliquez la Crème Hydratante Polynucléotide Pure Tone Aesthetics sur le visage et le cou en dernière étape de votre routine.
Faites pénétrer délicatement dans la peau jusqu'à absorption complète pour aider à retenir l'hydratation, soutenir la barrière cutanée et maintenir le confort ainsi que la qualité de la peau tout au long de la journée ou de la nuit.
Étape 1 : Nettoyer
Commencez par nettoyer avec le Gel Nettoyant Moussant Visage Pure Tone Aesthetics pour éliminer les impuretés, l'excès de sébum et la protection solaire, laissant la peau propre, fraîche et prête à recevoir le sérum.
Rincez abondamment et tamponnez délicatement la peau avant d'appliquer votre sérum choisi et de poursuivre avec le traitement au masque facial LED Glow.
Étape 2 : Appliquer le sérum
Appliquez une fine couche uniforme de sérum sur le visage et le cou.
Vous pouvez utiliser soit l’Ampoule Radiance Pure Tone Aesthetics, soit le Sérum Polynucleotide Pure Tone Aesthetics, selon les besoins et préférences de votre peau.
Laissez le sérum s’absorber pendant 30 secondes avant d’utiliser le masque facial LED.

Étape 3 : Utilisez le masque facial LED Glow
Utilisez le masque facial LED Pure Tone Glow selon les instructions de l'appareil et le réglage de lumière choisi.
Assurez-vous que le masque repose confortablement et uniformément sur la peau pendant toute la durée du traitement.
Étape 4 : Hydrater
Après avoir terminé le traitement LED, appliquez la Crème Hydratante Polynucléotide Pure Tone Aesthetics sur le visage et le cou.
Massez doucement jusqu'à absorption complète pour aider à soutenir l'hydratation, le confort de la peau et la fonction barrière en tant que dernière étape de votre routine.
Étape 1 : Nettoyer
Commencez par nettoyer avec le Gel Nettoyant Moussant Visage Pure Tone Aesthetics pour éliminer les impuretés, l'excès de sébum et la protection solaire, laissant la peau propre, fraîche et prête à recevoir le sérum.
Rincez abondamment et tamponnez délicatement la peau avant d'appliquer votre sérum choisi et de poursuivre avec le traitement au masque facial LED Glow.
Étape 2 : Appliquer le sérum
Appliquez une fine couche uniforme de sérum sur le visage et le cou.
Vous pouvez utiliser soit l’Ampoule Radiance Pure Tone Aesthetics, soit le Sérum Polynucleotide Pure Tone Aesthetics, selon les besoins et préférences de votre peau.
Laissez le sérum s’absorber pendant 30 secondes avant d’utiliser le masque facial LED.
Étape 3 : Utilisez le masque facial LED Glow
Utilisez le masque facial LED Pure Tone Glow selon les instructions de l'appareil et le réglage de lumière choisi.
Assurez-vous que le masque repose confortablement et uniformément sur la peau pendant toute la durée du traitement.
Étape 4 : Hydrater
Après avoir terminé le traitement LED, appliquez la Crème Hydratante Polynucléotide Pure Tone Aesthetics sur le visage et le cou.
Massez doucement jusqu'à absorption complète pour aider à soutenir l'hydratation, le confort de la peau et la fonction barrière en tant que dernière étape de votre routine.
Complétez la routine de Kimberley
-
Masque facial LED Pure Tone Glow™ avec Kimberley Walsh
Prix habituel £199.99 GBPPrix habituelPrix unitaire par£249.99 GBPPrix promotionnel £199.99 GBPEn vente -
Appareil Radiance Pod™ 7-en-1 pour raffermissement de la peau et tonification du visage à domicile avec Kimberley Walsh
Prix habituel £149.99 GBPPrix habituelPrix unitaire par£199.99 GBPPrix promotionnel £149.99 GBPEn vente


Pour qui est-ce ?

Développé pour les soins de la peau dirigés par des cliniques, adapté à une utilisation quotidienne à domicile
« En clinique, nous recherchons des sérums qui améliorent la qualité de la peau sur le long terme, plutôt que de simplement offrir un effet cosmétique temporaire. Cette formule associe des polynucléotides à des actifs hydratants et protecteurs de la peau, ce qui la rend parfaitement adaptée aux routines quotidiennes ainsi qu’aux traitements professionnels. »
Joolia Gilvey | Infirmière prescriptrice et propriétaire de The Clinic Norwich
Ingrédients actifs clés
-

Polynucléotides dérivés du ginseng (PDRN)
Inclus pour soutenir la qualité visible de la peau, son élasticité et sa résilience.
-

Complexe multi-moléculaire d'acide hyaluronique
Aide à attirer et retenir l'humidité pour une peau plus lisse et d'apparence plus hydratée.
-

Complexe de Centella Asiatica
Aide à apaiser et soutenir la peau qui se sent stressée, réactive ou affectée par l'environnement.
-

Niacinamide
Favorise la fonction barrière, la texture et un teint plus uniforme.


Qu'est-ce que le Sérum Polynucléotidique et à quoi sert-il ?
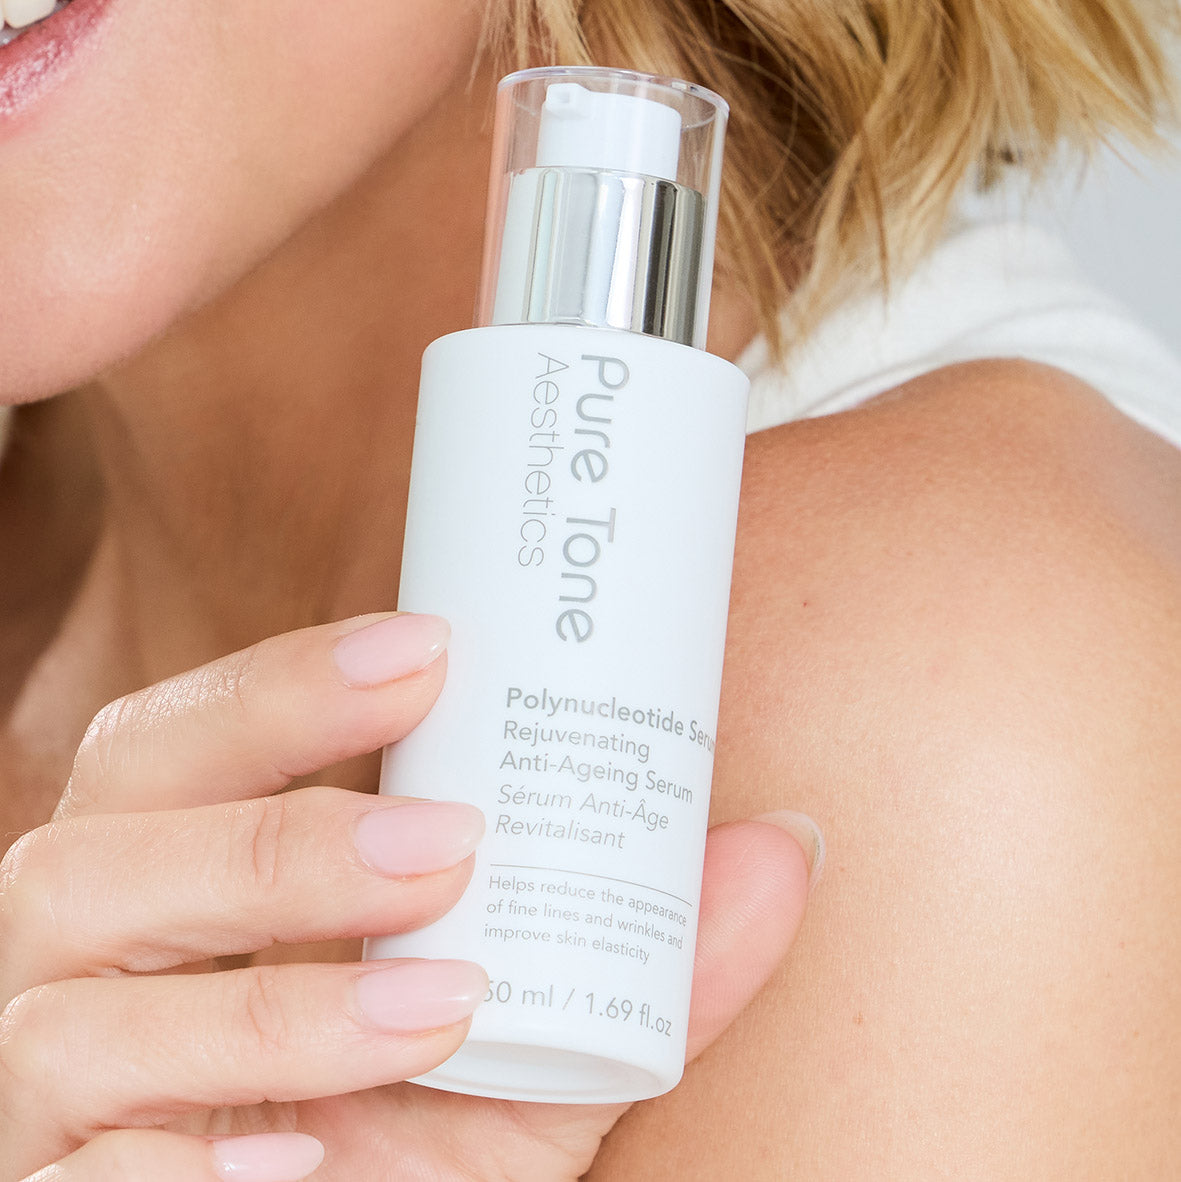
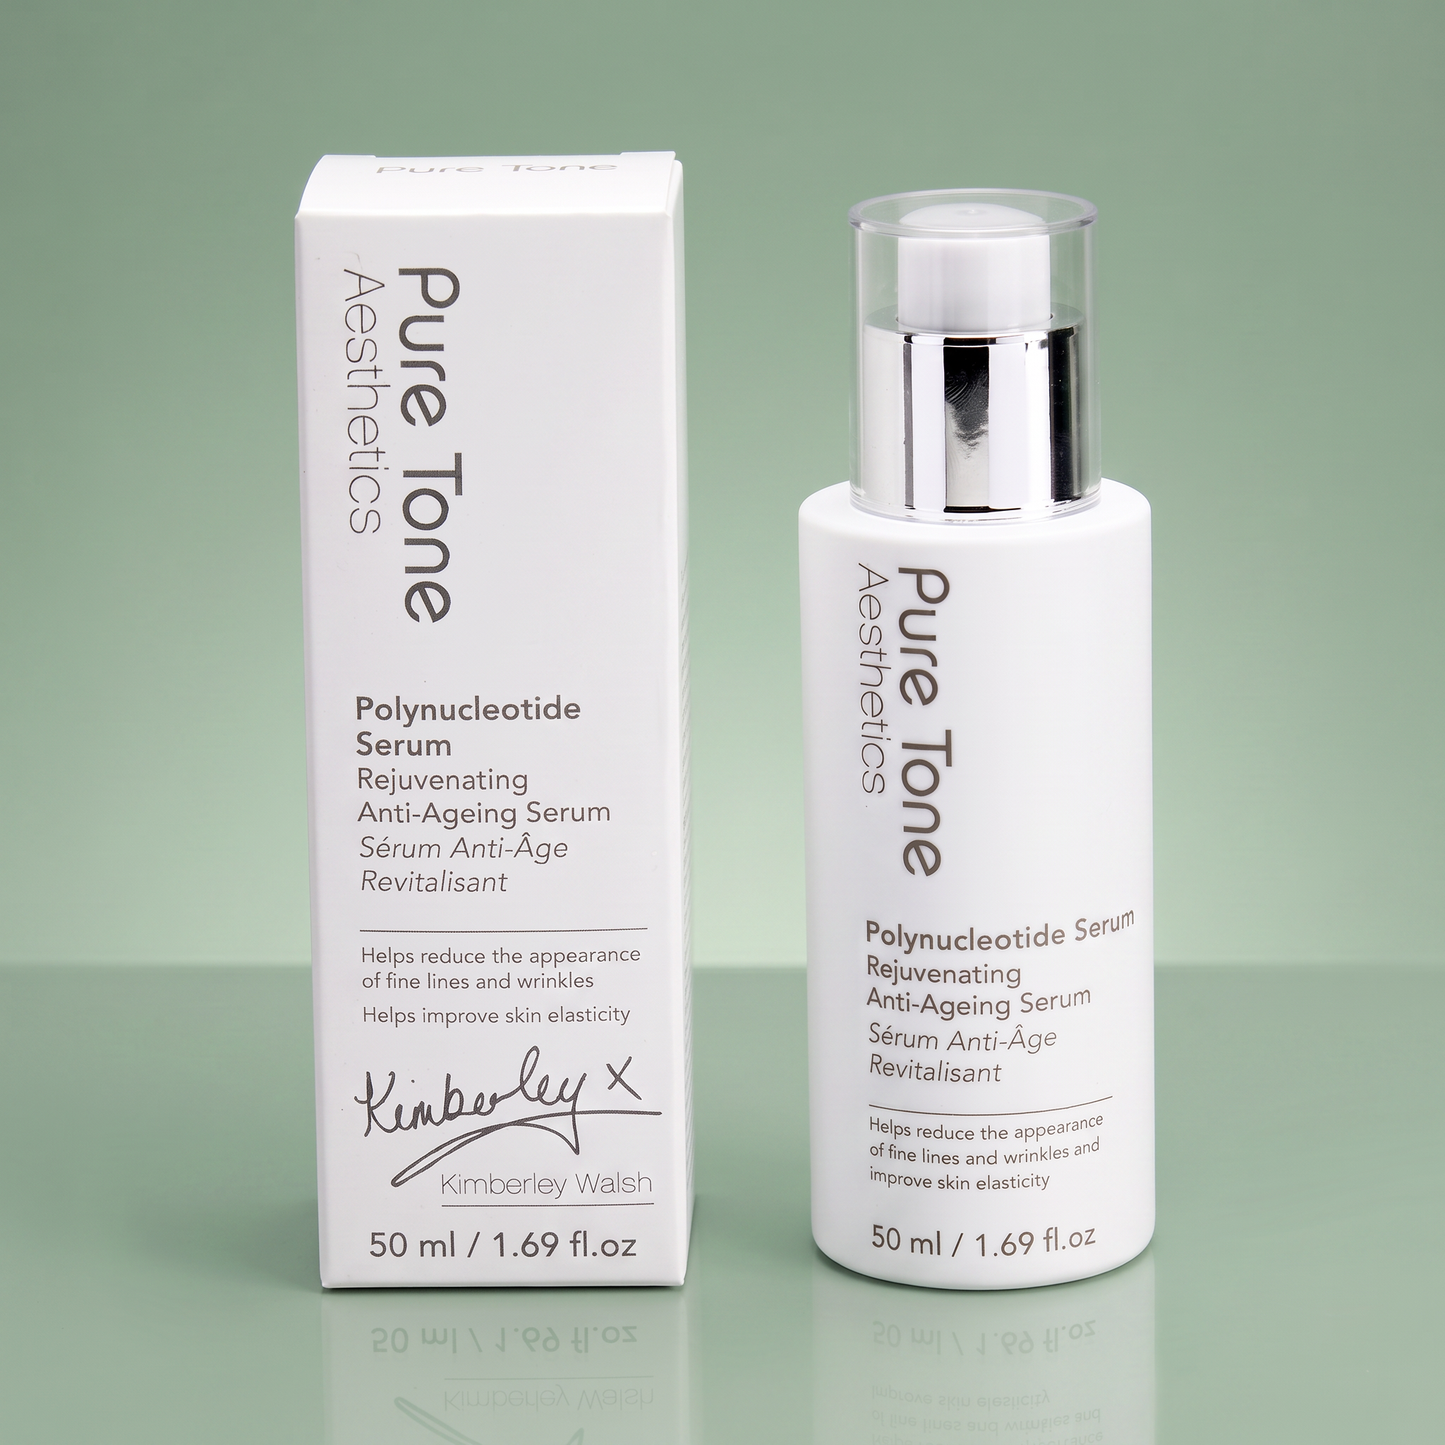
Le Sérum Polynucléotide est une étape de traitement anti-âge légère et à absorption rapide, conçue pour soutenir une peau d'apparence plus lisse et plus ferme.
Formulé avec des polynucléotides dérivés du ginseng (PDRN), de l'acide hyaluronique multi-moléculaire, un complexe de Centella Asiatica et de la niacinamide, il aide à réduire l'apparence des ridules et des rides tout en améliorant l'élasticité visible de la peau et la qualité globale de la peau avec une utilisation régulière.
Il est conçu pour être appliqué sous votre crème hydratante comme une étape de soutien structurel dans votre routine.
Comment utiliser le Sérum Polynucléotide ?
Appliquez 1 à 2 pressions sur une peau propre et sèche après le nettoyage. Pressez doucement sur le visage et le cou, laissez absorber pendant environ 30 à 60 secondes, puis poursuivez avec la Crème Hydratante Polynucléotide Pure Tone Aesthetics. Peut être utilisé le matin ou le soir, et s’intègre également aux routines avec le Radiance Pod ou le Masque LED Visage Pure Tone Glow.
Ce sérum peut-il être utilisé matin et soir ?
Oui. Bien que particulièrement adapté à une utilisation en soirée, le sérum peut également être appliqué le matin. Appliquez toujours une crème hydratante, ainsi qu’un écran solaire en journée.
La régularité — plus que la fréquence — est la clé pour des résultats visibles à long terme.
Quand verrai-je les résultats du Sérum Polynucléotidique ?
La peau peut sembler plus hydratée, plus lisse et plus confortable immédiatement après l'application. Avec une utilisation régulière sur plusieurs semaines, les ridules peuvent paraître atténuées et la peau peut sembler plus élastique, résistante et soutenue. Les meilleurs résultats sont obtenus grâce à une utilisation régulière dans le cadre d'une routine de soins quotidienne.
Ce sérum convient-il à tous les types de peau, y compris les peaux sensibles ?
La formule est sans parfum et contient un complexe de Centella Asiatica pour soutenir le confort et l'équilibre de la peau.
Elle convient à la plupart des types de peau, y compris les peaux matures et sensibilisées. Cependant, comme pour tout produit de soin actif, un test cutané est recommandé avant la première utilisation.
Puis-je utiliser ce sérum avec d'autres produits ou appareils de soin de la peau ?
Oui. Le sérum est conçu pour s’intégrer parfaitement dans des routines structurées et peut être utilisé en complément de :
- Rétinol
- Vitamine C
- Hydratants
- Appareils de luminothérapie LED
- Outils de soin à domicile inspirés des cliniques
Appliquez après le nettoyage et avant l’hydratant.
Ce sérum peut-il être utilisé autour du contour des yeux ?
Oui, il peut être appliqué avec précaution autour de la zone de l'os orbital. Évitez le contact direct avec les yeux.
En quoi cela diffère-t-il de la Crème Hydratante Polynucléotide ?
Le sérum est une étape de traitement concentrée conçue pour soutenir l'élasticité et la qualité visible de la peau en profondeur.
La crème hydratante se concentre principalement sur la rétention de l'hydratation et le renforcement de la barrière cutanée.
Pour de meilleurs résultats, appliquez d'abord le sérum, puis la crème hydratante pour sceller l'hydratation et maximiser le soutien à long terme de la peau.
Cela remplace-t-il un sérum à l'acide hyaluronique ?
Cette formule contient déjà un complexe d’acide hyaluronique multi-moléculaire, donc dans la plupart des cas, un sérum d’acide hyaluronique supplémentaire n’est pas nécessaire.
À quel âge ce sérum convient-il ?
Ce sérum convient aux adultes de tout âge présentant des signes visibles de vieillissement cutané, tels que les ridules, une élasticité réduite ou une perte de fermeté.
Il est le plus souvent utilisé par les femmes de plus de 40 ans, mais peut être introduit plus tôt à titre préventif.
Combien de temps dure une bouteille ?
Lorsqu'il est utilisé une fois par jour (1 à 2 pressions), un flacon dure généralement environ 6 à 8 semaines. La durée peut varier en fonction de la fréquence et de la quantité utilisée.
Y a-t-il des avertissements ou des précautions dont je devrais être informé ?
- Usage externe uniquement.
- Évitez le contact direct avec les yeux. En cas de contact, rincez abondamment à l'eau fraîche.
- Ne pas appliquer sur une peau abîmée ou lésée. En cas d'irritation, cessez l'utilisation.
- Conservez dans un endroit frais et sec, à l'abri de la lumière directe du soleil et hors de portée des enfants.
Ce sérum contient-il des parfums ou des huiles essentielles ?
Non. Ce sérum est sans parfum et ne contient pas d’huiles essentielles ajoutées, ce qui le rend adapté à ceux qui préfèrent des soins de la peau minimalistes et non parfumés.
Ce sérum est-il adapté pendant la grossesse ou l'allaitement ?
Bien que les ingrédients soient couramment utilisés dans les soins de la peau topiques, nous recommandons toujours de consulter un professionnel de santé avant d’introduire de nouveaux produits de soin pendant la grossesse ou l’allaitement.
Ce sérum est-il végan et sans cruauté animale ?
Oui. Ce Sérum Polynucléotidique est végétalien et sans cruauté. Il n'est pas testé sur les animaux et ne contient pas d'ingrédients d'origine animale.
Quels sont les ingrédients complets (INCI) ?
Ingrédients (INCI) :
Eau, Glycérine, Butylène Glycol, Triglycéride Caprylique/Caprique, Niacinamide, Palmitate d’Éthylhexyle, Diméthicone, 1,2-Hexanediol, Copolymère PEG/PPG-17/6, Olivate de Cétéaryle, Olivate de Sorbitan, Alcools C14-22, Glucoside Alkyl C12-20, Eau, Glucose, Copolymère Acrylate de Sodium/Acryloyldiméthyl Taurate de Sodium, Copolymère d’Acrylates/C10-30 Alkyl Acrylate, Arginine, Isohexadécane, Glucoside Alkyl C12-20, Eau, Glucose, Éthylhexylglycérine, Gomme Xanthane, Adénosine, Polysorbate 80, Disodium EDTA, Oléate de Sorbitan, Glucose, Hyaluronate de Sodium, ADN de Sodium, Collagène Soluble, Collagène Hydrolysé, Copolymère d’Hyaluronate de Sodium, Hyaluronate de Potassium, Hydroxypropyltrimonium Hyaluronate, Hyaluronate de Sodium Hydrolysé, Acide Hyaluronique Hydrolysé, Acide Hyaluronique, Pentylène Glycol, Hyaluronate Acétylé de Sodium, Madécassoside, Acide Madécassique, Asiaticoside, Acide Asiatique, Atélocollagène
Puis-je retourner ce produit s'il a été ouvert ?
Pour des raisons d’hygiène et de sécurité, les produits de soin ouverts ou utilisés ne peuvent pas être retournés une fois le sceau brisé, sauf en cas de défaut du produit.
Si votre produit arrive endommagé ou si vous rencontrez un problème avec votre commande, veuillez contacter notre service client avant utilisation afin que nous puissions vous aider.