


Why Your Cleanser Matters More Than You Think
Many foaming cleansers remove oil effectively — but in doing so can disrupt the skin’s natural moisture balance. Repeated over time, this can lead to tightness, increased sensitivity, and reduced tolerance to active ingredients.
If the first step in your routine compromises the skin barrier, even the most advanced serums cannot perform at their best.
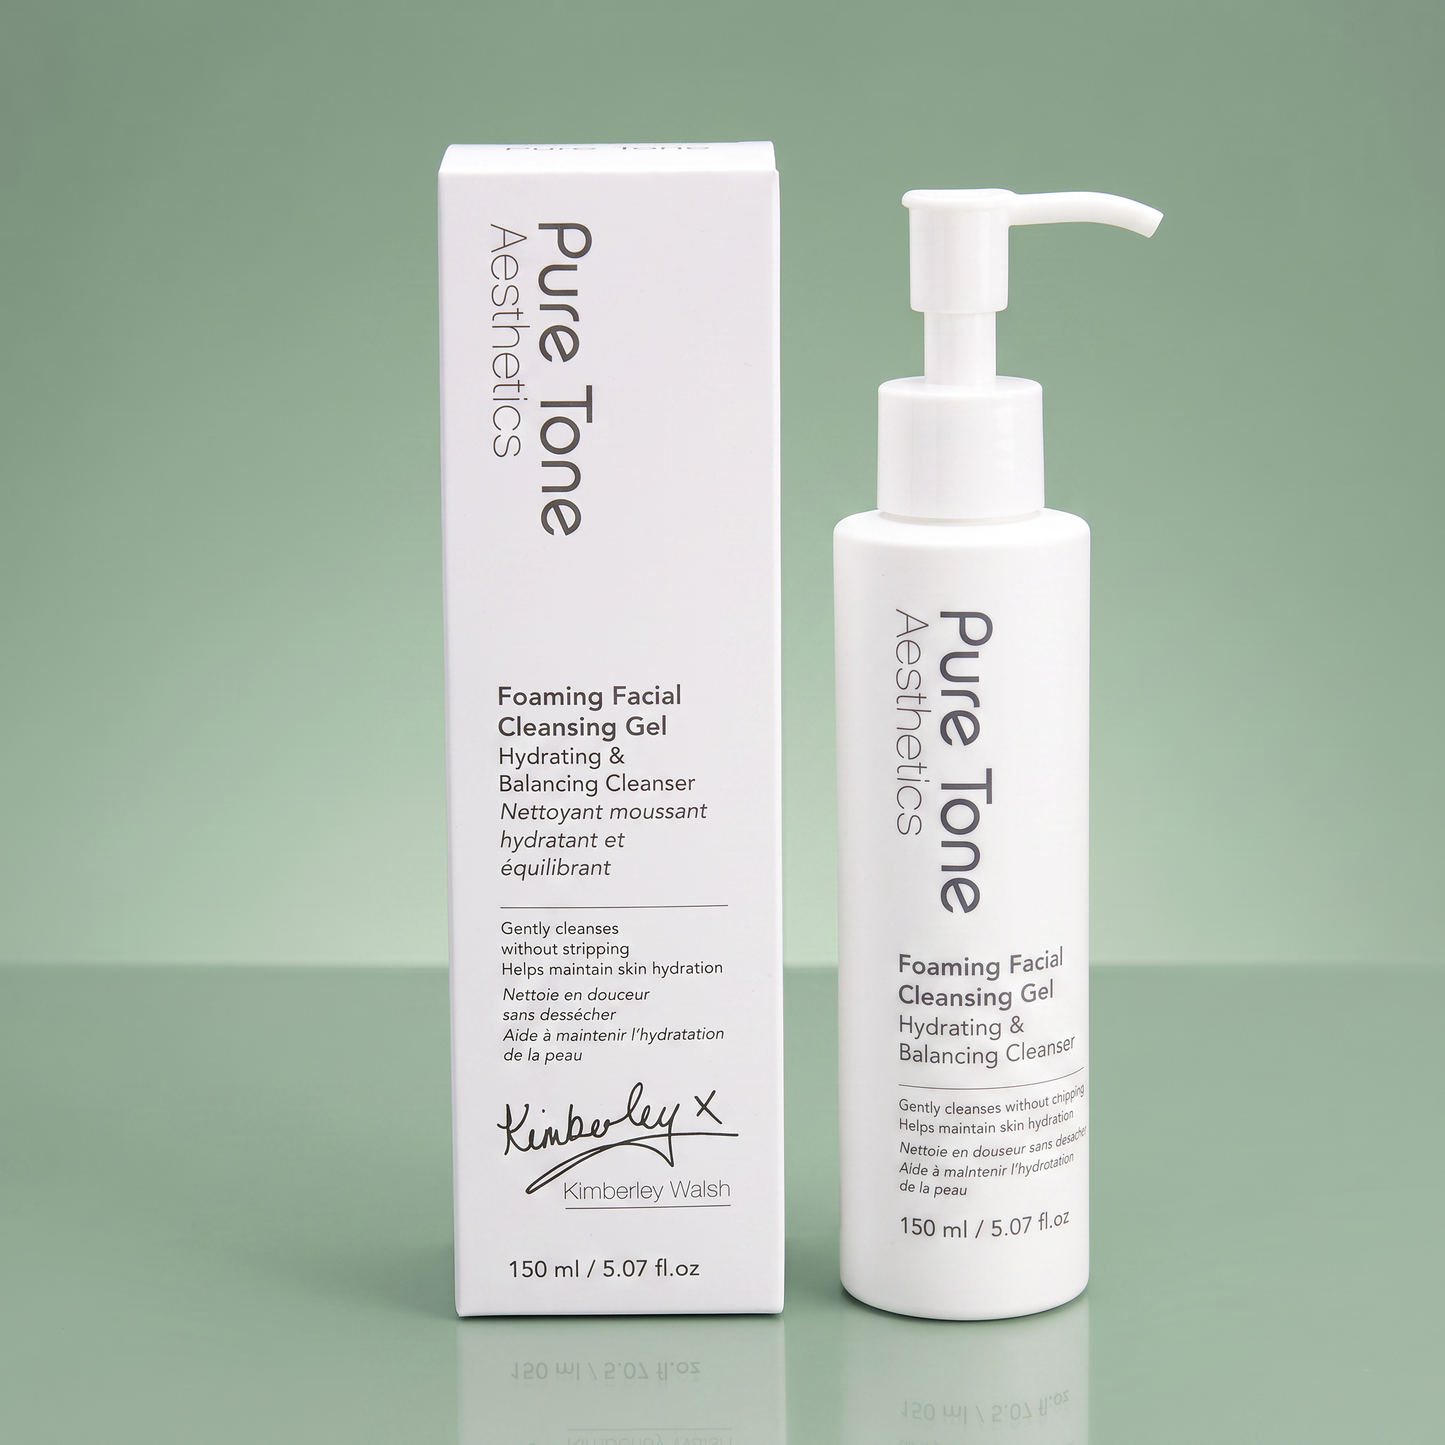
Pure Tone Aesthetics Foaming Facial Cleansing Gel is formulated to cleanse thoroughly while respecting hydration levels. By combining gentle surfactants with a multi-molecular hyaluronic acid complex, glycerin and soothing allantoin, it helps support comfort during cleansing — not just after it.
The result is skin that feels clean, balanced and ready for treatment-led skincare.

Why Kimberley Starts With Cleansing
For Kimberley Walsh, the collection was never about adding more steps or chasing complicated skincare trends. It was about creating a simple, credible routine that fits around real life.
The Foaming Facial Cleansing Gel is the first step in that routine: a gentle but effective cleanser designed to leave skin feeling fresh, balanced and ready for the treatment-led products that follow.
Because even the best serum or moisturiser performs better when the skin is properly cleansed, comfortable and prepared.

The Science Behind the Formula
Intelligent Cleansing, Backed by Hydration Science
Cleansing is performed more frequently than any other step in a skincare routine. For that reason, formulation balance is critical.
Pure Tone Aesthetics Foaming Facial Cleansing Gel has been developed with a structured approach: effective impurity removal supported by hydration-focused and soothing components within the cleansing phase itself.
Rather than relying solely on strong foaming action, the formula pairs carefully selected surfactants with moisture-supporting ingredients to help maintain comfort during and after rinsing.
The objective is simple: cleanse efficiently while preserving the conditions needed for healthy skin function.

Multi-Molecular Hyaluronic Acid Complex
Helps Prevent Post-Cleanse Tightness
This formula incorporates multiple forms of hyaluronic acid — including sodium hyaluronate, hydrolysed hyaluronic acid and crosslinked derivatives — selected to support hydration at varying molecular weights.
Glycerin helps attract and retain water within the skin, reducing the feeling of dryness after cleansing.
Allantoin supports comfort during daily use, while Melissa Officinalis (lemon balm) extract helps refresh and balance the complexion.
Together, these ingredients create a cleansing system designed to support hydration rather than compromise it.

How It Fits Into Your Routine
Cleansing is the first and most frequently repeated step in any skincare plan. Used morning and evening, Pure Tone Aesthetics Foaming Facial Cleansing Gel prepares the skin by removing daily impurities without compromising comfort.
Once cleansed, follow with a targeted serum and moisturiser suited to your individual skin concerns. For enhanced results, it can also be incorporated into device-led routines such as Radiance Pod or Pure Tone Glow LED treatments.
Consistent cleansing supports consistent results.
Choose your routine to see the recommended order of steps

Step 1: Cleanse
Begin with Pure Tone Aesthetics Foaming Facial Cleansing Gel to remove daily impurities and prepare the skin for the steps that follow. Massage onto damp skin, rinse thoroughly with lukewarm water, and gently pat dry with a soft towel before applying your serum.

Step 2: Apply Polynucleotide Serum
Apply Pure Tone Aesthetics Polynucleotide Serum to the face and neck, gently pressing it into the skin until fully absorbed.
Using the serum before moisturising helps support hydration and overall skin quality.

Step 3: Moisturise
Apply Pure Tone Aesthetics Polynucleotide Moisturising Cream to the face and neck as the final step in your routine.
Massage gently until absorbed to help lock in hydration and maintain skin comfort throughout the day or night.
Step 1: Cleanse
Begin with Pure Tone Aesthetics Foaming Facial Cleansing Gel to remove daily impurities and prepare the skin for the steps that follow. Massage onto damp skin, rinse thoroughly with lukewarm water, and gently pat dry with a soft towel before applying your serum.
Step 2: Apply Polynucleotide Serum
Apply Pure Tone Aesthetics Polynucleotide Serum to the face and neck, gently pressing it into the skin until fully absorbed.
Using the serum before moisturising helps support hydration and overall skin quality.
Step 3: Moisturise
Apply Pure Tone Aesthetics Polynucleotide Moisturising Cream to the face and neck as the final step in your routine.
Massage gently until absorbed to help lock in hydration and maintain skin comfort throughout the day or night.
Step 1: Cleanse
Start by cleansing with Pure Tone Aesthetics Foaming Facial Cleansing Gel to remove daily impurities, excess oil and SPF, leaving skin feeling clean, comfortable and ready for the steps that follow.

Step 2: Use Radiance Pod
Apply the Pure Tone Aesthetics Conductor and Gliding Gel to clean skin, then use Radiance Pod following the device guidance for your chosen treatment mode.
Once finished, gently wipe away any excess gel before applying serums or moisturiser, helping prepare the skin for the products that follow.
Step 3: Apply Polynucleotide Serum
Apply the Pure Tone Aesthetics Polynucleotide Serum to the face and neck, gently pressing it into the skin until fully absorbed.
Using the polynucleotide serum before moisturising helps support hydration and overall skin quality, allowing the moisturiser to work more effectively as the final step.
Step 4: Moisturise
Apply the Pure Tone Aesthetics Polynucleotide Moisturising Cream to the face and neck as the final step in your routine.
Gently massage into the skin until fully absorbed to help lock in hydration, support the skin barrier, and maintain comfort and skin quality throughout the day or night.
Step 1: Cleanse
Start by cleansing with Pure Tone Aesthetics Foaming Facial Cleansing Gel to remove daily impurities, excess oil and SPF, leaving skin feeling clean, comfortable and ready for the steps that follow.
Step 2: Use Radiance Pod
Apply the Pure Tone Aesthetics Conductor and Gliding Gel to clean skin, then use Radiance Pod following the device guidance for your chosen treatment mode.
Once finished, gently wipe away any excess gel before applying serums or moisturiser, helping prepare the skin for the products that follow.
Step 3: Apply Polynucleotide Serum
Apply the Pure Tone Aesthetics Polynucleotide Serum to the face and neck, gently pressing it into the skin until fully absorbed.
Using the polynucleotide serum before moisturising helps support hydration and overall skin quality, allowing the moisturiser to work more effectively as the final step.
Step 4: Moisturise
Apply the Pure Tone Aesthetics Polynucleotide Moisturising Cream to the face and neck as the final step in your routine.
Gently massage into the skin until fully absorbed to help lock in hydration, support the skin barrier, and maintain comfort and skin quality throughout the day or night.
Step 1: Cleanse
Begin by cleansing with Pure Tone Aesthetics Foaming Facial Cleansing Gel to remove impurities, excess oil and SPF, leaving the skin clean, fresh and ready for serum application.
Rinse thoroughly and gently pat the skin dry before moving on to your chosen serum and Glow LED face mask treatment.
Step 2: Apply serum
Apply a thin, even layer of serum to the face and neck.
You can use either the Pure Tone Aesthetics Radiance Ampoule or the Pure Tone Aesthetics Polynucleotide Serum, depending on your skin’s needs and preferences.
Allow the serum to absorb for 30 seconds before using the LED face mask.

Step 3: Use Glow LED face mask
Use the Pure Tone Glow LED face mask according to the device guidance and your chosen light setting.
Ensure the mask sits comfortably and evenly on the skin for the duration of the treatment.
Step 4: Moisturise
After completing the LED treatment, apply the Pure Tone Aesthetics Polynucleotide Moisturising Cream to the face and neck.
Gently massage until fully absorbed to help support hydration, skin comfort, and barrier function as the final step in your routine.
Step 1: Cleanse
Begin by cleansing with Pure Tone Aesthetics Foaming Facial Cleansing Gel to remove impurities, excess oil and SPF, leaving the skin clean, fresh and ready for serum application.
Rinse thoroughly and gently pat the skin dry before moving on to your chosen serum and Glow LED face mask treatment.
Step 2: Apply serum
Apply a thin, even layer of serum to the face and neck.
You can use either the Pure Tone Aesthetics Radiance Ampoule or the Pure Tone Aesthetics Polynucleotide Serum, depending on your skin’s needs and preferences.
Allow the serum to absorb for 30 seconds before using the LED face mask.
Step 3: Use Glow LED face mask
Use the Pure Tone Glow LED face mask according to the device guidance and your chosen light setting.
Ensure the mask sits comfortably and evenly on the skin for the duration of the treatment.
Step 4: Moisturise
After completing the LED treatment, apply the Pure Tone Aesthetics Polynucleotide Moisturising Cream to the face and neck.
Gently massage until fully absorbed to help support hydration, skin comfort, and barrier function as the final step in your routine.
Complete Kimberley’s Routine
-
 Exclusive Offer
Pure Tone Glow™ LED Face Mask with Kimberley Walsh
Regular price £199.99 GBPRegular priceUnit price per£249.99 GBPSale price £199.99 GBPExclusive Offer -

Radiance Pod™ 7-in-1 At-Home Skin Tightening & Facial Toning Device with Kimberley Walsh
Regular price £149.99 GBPRegular priceUnit price per£199.99 GBPSale price £149.99 GBPExclusive Offer


Key Ingredients

Developed for Clinic-Led Skincare, Suitable for Daily Home Use
“In clinic, we pay close attention to how a patient’s skin is cleansed before and after treatments. Over-cleansing can compromise comfort and reduce tolerance to active ingredients. This cleanser is formulated to remove impurities effectively while supporting hydration, making it suitable for both professional treatment plans and consistent daily home use.”
Joolia Gilvey | Nurse Prescriber and Owner of The Clinic Norwich

What is the Foaming Facial Cleansing Gel and what does it do?
Pure Tone Aesthetics Foaming Facial Cleansing Gel is a hydrating, balancing cleanser designed to remove daily impurities and excess oil without compromising the skin’s natural moisture balance. It helps leave skin clean, comfortable and properly prepared for serums and moisturisers that follow.
Can this cleanser be used morning and night?
Yes. It is formulated for twice-daily use as the first step in your skincare routine.
Is this cleanser suitable for all skin types, including sensitive skin?
The formula includes hydration-supporting and soothing ingredients such as multi-molecular hyaluronic acid and allantoin, making it suitable for most skin types. If you have particularly reactive or compromised skin, we recommend patch testing before first use.
Can I use this cleanser with other skincare products or devices?
Yes. It is designed to fit seamlessly into treatment-led routines. After cleansing, you can apply your chosen serum and moisturiser, or incorporate device-based treatments such as Radiance Pod or Pure Tone Glow LED as directed.
How is this different from standard foaming cleansers?
Many foaming cleansers focus primarily on oil removal. This formula combines effective cleansing with hydration-supporting ingredients to help reduce the feeling of post-wash tightness and maintain skin comfort.
Does this replace a hyaluronic acid serum?
No. While the cleanser contains a multi-molecular hyaluronic acid complex to support hydration during cleansing, it is not a substitute for a targeted hyaluronic acid serum, which remains on the skin for extended benefit.
What age is this cleanser suitable for?
It is suitable for adults of all ages looking for a balanced, hydration-supporting daily cleanser.
How long does one bottle last?
With twice-daily use and only a small pea-sized amount per cleanse, one 150 ml bottle typically lasts approximately 12–16 weeks, depending on individual usage.
A little goes a long way, as the formula creates a light, effective foam without the need for excessive product.
Are there any warnings or precautions I should be aware of?
- For external use only.
- Avoid contact with eyes. If contact occurs, rinse thoroughly with water.
- If irritation occurs, discontinue use.
- Store in a cool, dry place away from direct sunlight and keep out of reach of children.
Does this cleanser contain fragrance or essential oils?
No. The Foaming Facial Cleansing Gel is formulated without added fragrance or essential oils. This helps reduce the risk of unnecessary irritation and makes the formula suitable for those who prefer fragrance-free skincare.
Is this cleanser suitable during pregnancy or breastfeeding?
There are no active ingredients typically restricted during pregnancy or breastfeeding. However, if you are unsure, we recommend consulting your healthcare professional before introducing new skincare products.
Is this cleanser vegan and cruelty free?
Yes. Pure Tone Aesthetics skincare products are vegan and cruelty free.
What are the full ingredients (INCI)?
Ingredients (INCI):
Water, Sodium C14-16 Olefin Sulfonate, Coco-Betaine, Glycerin, Sodium Chloride, Potassium Cocoyl Glycinate, Methylpropanediol, Caprylyl Glycol, Caprylhydroxamic Acid, Citric Acid, Allantoin, Disodium EDTA, Melissa Officinalis Leaf Extract, 1,2-Hexanediol, Sodium Hyaluronate, Sodium Hyaluronate Crosspolymer, Potassium Hyaluronate, Hydroxypropyltrimonium Hyaluronate, Hydrolyzed Sodium Hyaluronate, Hydrolyzed Hyaluronic Acid, Hyaluronic Acid, Pentylene Glycol, Sodium Acetylated Hyaluronate.
Can I return this product if it has been opened?
For hygiene and safety reasons, opened or used skincare products cannot be returned once the seal has been broken, unless the product is faulty.
If your product arrives damaged or there is an issue with your order, please contact our customer care team before use so we can help.